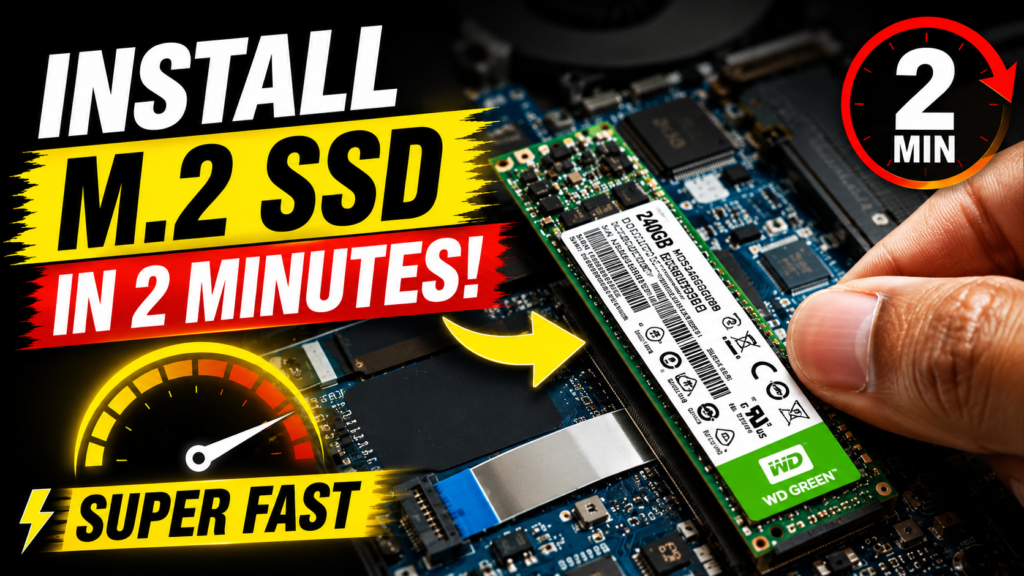
An M.2 SSD is one of the biggest real-world speed upgrades you can give an old laptop, and physically fitting one takes only a couple of minutes once you know the process. This guide covers exactly how to install m.2 ssd in laptop or desktop, using a real WD Green 240GB installation as the example, plus a couple of details most tutorials skip entirely — like checking whether your slot actually supports the drive type you’re buying.
Before You Buy: Check Your Slot Type
This is the step that most videos skip, yet it’s the one that causes the most returns. M.2 SSDs come in two different types—SATA and NVMe. While they look almost identical, they aren’t interchangeable on every laptop. Some laptops have M.2 slots that support only SATA SSDs, others support only NVMe SSDs, and some support both. Before buying an SSD, check your laptop’s official specifications or user manual to confirm which type your M.2 slot supports.
If you’re not sure how to check, our detailed guide can help you identify the right SSD for your laptop: https://tapsvision.in/how-to-check-ssd-slot-laptop-sata-nvme/
- M.2 SATA SSD: same speed as a regular 2.5-inch SATA SSD, just in a smaller form factor
- M.2 NVMe SSD: significantly faster, but only works if your laptop’s M.2 slot specifically supports NVMe/PCIe
Step-by-Step: Installing an M.2 SSD
Step 1: Power Off and Open Your Laptop
Shut down completely, unplug the charger, and remove the battery if it’s removable. Open the back panel — usually held by a few small screws. If you’re not sure how to open your specific laptop model, check the channel’s dedicated laptop-opening guide first.
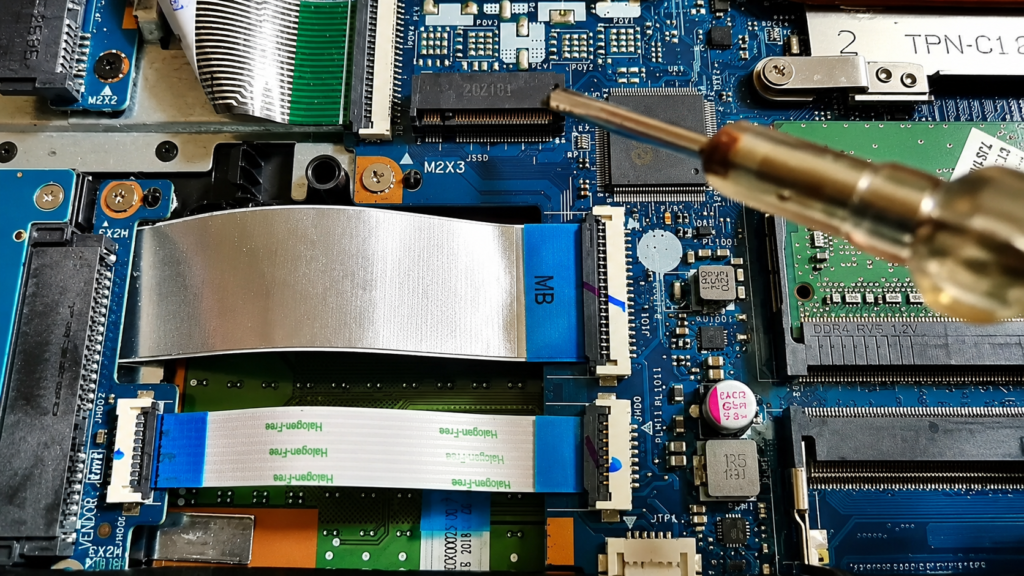
Step 2: Locate the M.2 Slot and the Mounting Screw
The M.2 slot is a narrow connector, separate from any SATA or RAM slots nearby. Next to it, there’s usually a small screw hole for securing the drive once it’s seated. Some laptops (many HP 15-series models included) come with this screw pre-installed from the factory; others don’t include it at all. If yours is missing, a standard M.2 standoff screw is inexpensive and easy to source separately — don’t skip securing the drive, since an unscrewed SSD can work its way loose over time.
Step 3: Insert the SSD at an Angle
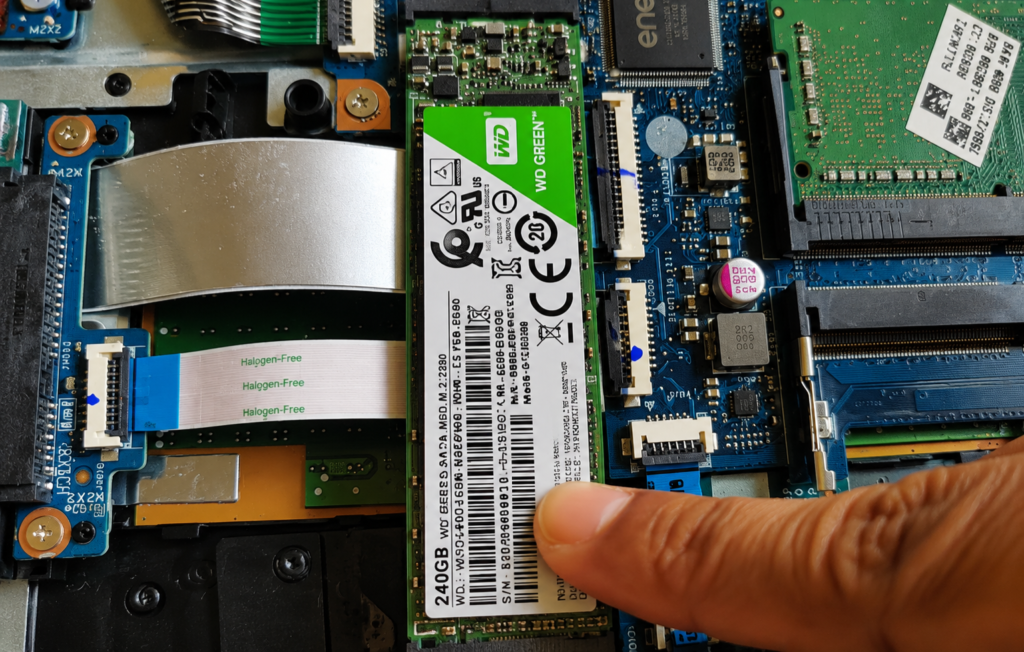
Hold the SSD at roughly a 30-degree angle and align its notch with the matching gap in the slot’s connector. Push it in gently — it won’t go in straight, and forcing it flat will damage the connector. A slight left-right wiggle while inserting often helps it seat fully; you’ll usually hear or feel a soft click when it’s properly connected.
Step 4: Press Down and Secure with the Screw
Once inserted, press the SSD down flat until it lies level with the motherboard, then secure it with the mounting screw. Don’t overtighten — just enough to hold it firmly in place.
Step 5: Reassemble and Power On
Close up the back panel, reinsert the battery, and power on your laptop. To confirm Windows detects the new drive, open Disk Management (right-click Start > Disk Management) — the new SSD should appear there, even if it’s unformatted at this point.
What to Do After Installing the SSD
Physically installing the SSD is only half the job — to actually use it as your main drive, you’ll need to either clone your existing Windows installation onto it using reputable disk-cloning software, or do a fresh Windows install directly on the new drive. If you’re just adding it as extra storage alongside your existing drive, you only need to initialize and format it in Disk Management, which takes a couple of clicks.
Once it’s set up, expect noticeably faster boot times, quicker file copying, and smoother performance when editing or multitasking — this is consistently one of the highest-impact upgrades for an older laptop.
Compatible Devices
- Most modern laptops and desktops with a dedicated M.2 slot (check SATA vs NVMe support first)
- HP, Dell, Lenovo, Asus, and Acer laptops from recent years
- Desktop motherboards with an M.2 slot on the board
Watch the Full Video Walkthrough
What You’ll Need for This Upgrade
1. WD Green or WD Blue M.2 SSD (240GB–480GB)
A well-known, reliable choice for both SATA and NVMe M.2 upgrades — confirm the exact model matches your slot type before ordering.
2. Precision Screwdriver Kit
The mounting screw for M.2 drives is small — a standard household screwdriver usually won’t fit it properly.
3. Reputable Disk-Cloning Software
If you want to move your existing Windows setup onto the new SSD without reinstalling everything, well-established cloning tools make this straightforward.
Frequently Asked Questions
How do I install an M.2 SSD in a laptop?
Power off and open your laptop, locate the M.2 slot, insert the SSD at a 30-degree angle, press it down flat, and secure it with the mounting screw. Then reassemble and check Disk Management to confirm it’s detected.
How do I install an M.2 SSD in a desktop PC?
The process is nearly identical, though desktop M.2 slots on the motherboard are usually easier to access without needing to open a sealed case — just insert at an angle, press down, and screw in place.
What’s the difference between M.2 SATA and NVMe SSDs?
M.2 SATA runs at the same speed as a regular SATA SSD, just in a smaller size. M.2 NVMe uses the PCIe interface and is significantly faster — but your laptop’s specific M.2 slot must support NVMe for it to work.
Is the WD Green SN350 a good NVMe SSD choice?
It’s a budget-friendly, reliable NVMe option well-suited for general use and upgrades, though it’s not the fastest NVMe drive available — for heavy workloads like video editing, a higher-tier NVMe drive will perform better.
Do I need a screw to install an M.2 SSD?
Yes, the drive should always be secured with its mounting screw. Some laptops include this screw pre-installed; if yours doesn’t, a standard M.2 standoff screw is cheap and easy to find separately.
How do I install Windows on my new SSD?
You can either clone your existing Windows drive onto the new SSD using disk-cloning software, or do a clean install using a Windows installation USB and selecting the new SSD as the install location.
Will my laptop support an NVMe SSD or only SATA?
Check your laptop’s official specification sheet or manual — this varies by model and isn’t something you can tell just by looking at the M.2 slot itself.
TapsVision-