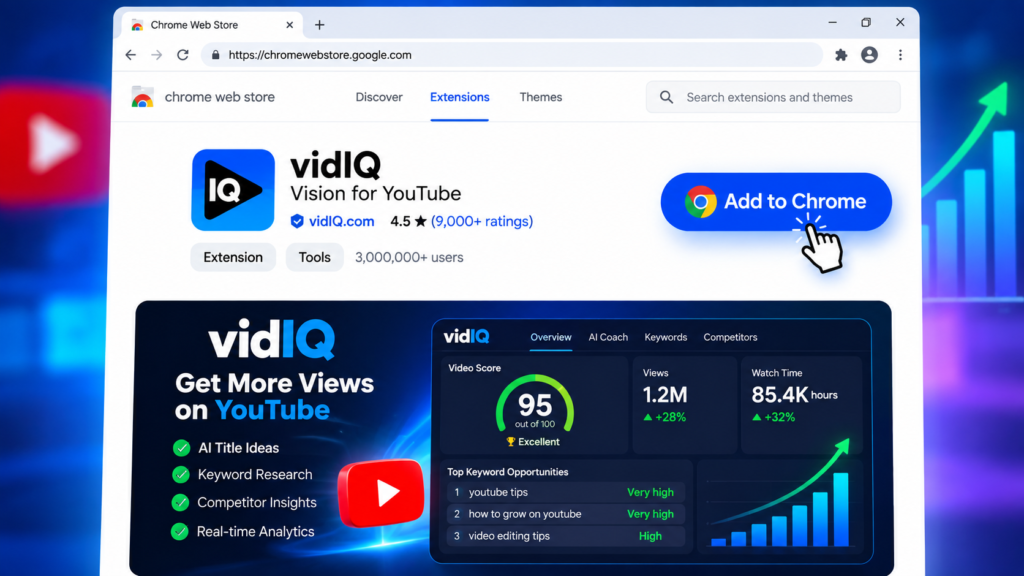
Want real-time subscriber counts, SEO scores, and keyword data right inside YouTube while you browse? Both VidIQ and TubeBuddy do exactly this, and — good news — the installation process is nearly identical for both. This guide walks through the exact vidiq installation steps, plus how to install TubeBuddy the same way, so you can have either (or both) running in your browser in under two minutes.
Quick answer: open the Chrome Web Store, search “VidIQ Vision for YouTube” (or “TubeBuddy for YouTube”), click Add to Chrome, then sign in and authorize it with your YouTube channel — the extension then overlays directly on YouTube itself.
Note: This video’s traffic already comes 44.4% from Google Search and another 22.2% directly from tubebuddy.com — a strong sign this exact installation question is actively searched for, not just a YouTube-only topic.
Video Stats: “All About VidIQ Installation | VidIQ TubeBuddy PC Par Kaise Install Karein” | 249 views since published | 4.0 watch hours | Traffic sources: Google Search (44.4%), tubebuddy.com (22.2%), Google (11.1%)
Does This Installation Method Still Work in 2026?
Yes — the core installation flow is unchanged. Both VidIQ and TubeBuddy are still actively maintained Chrome extensions in 2026, installed the same way through the Chrome Web Store, then authorized against your YouTube channel. One update worth knowing: TubeBuddy has officially ended its Firefox support and is now effectively a Chrome-first tool (it still works on Microsoft Edge and other Chromium-based browsers). VidIQ also continues to work the same way on Chrome and Edge.
How to Install VidIQ on Chrome
- Open Google Chrome and go to the Chrome Web Store.
- Search for “VidIQ Vision for YouTube.”
- Click Add to Chrome, then confirm the installation when prompted.
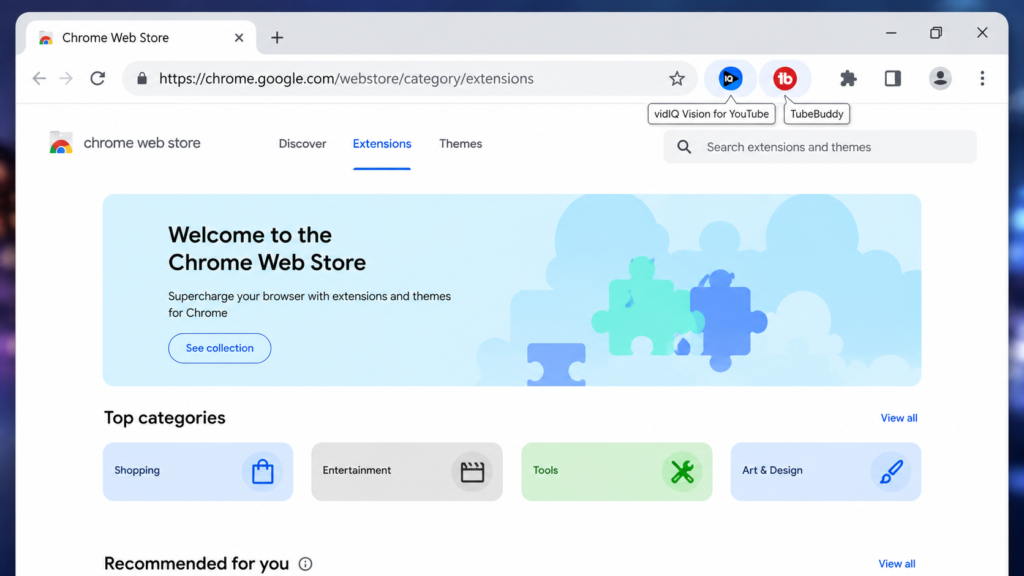
- Click the puzzle-piece icon in your browser toolbar and pin VidIQ so it’s always visible.
- Open YouTube, sign in, and authorize VidIQ to access your channel when asked.
How to Install TubeBuddy on Chrome (Same Process)
- Open the Chrome Web Store and search for “TubeBuddy for YouTube.”
- Click Add to Chrome and confirm.
- Pin the extension using the puzzle-piece icon for one-click access.
- Open YouTube and authorize TubeBuddy with your channel when prompted.
What You Actually Get Once It’s Installed
Once authorized, both tools overlay data directly onto YouTube itself — you don’t need to open a separate dashboard for the basics. This includes real-time subscriber counts while watching any channel’s videos, an SEO/optimization score on your own uploads, and keyword or tag suggestions while you’re writing a title or description.
VidIQ vs TubeBuddy — Which One Should You Actually Use?
You don’t have to choose just one — many creators run both at the same time, since they lean into slightly different strengths:
| Feature | VidIQ | TubeBuddy | Notes |
| Free tier available | Yes | Yes | Both usable at no cost for core features |
| Real-time video stats overlay | Yes | Yes | Both show live view/sub data while browsing |
| SEO score / keyword suggestions | Strong focus (AI-driven) | Available | VidIQ leans more into AI scoring |
| Tag research & A/B testing | Basic | Strong focus | TubeBuddy leans more into workflow/testing tools |
| Browser support | Chrome, Edge | Chrome, Edge (Firefox support ended) | Both are effectively Chrome-first now |
| Paid plan starting price | Paid tiers available | From $9/month | Check current pricing on each site before buying |
If you want AI-driven SEO scoring and keyword suggestions, VidIQ is generally the stronger pick. If you want deeper tag research and A/B thumbnail/title testing, TubeBuddy leans further in that direction. Both have usable free tiers, so trying both before committing to a paid plan is a reasonable approach.
Pro Tips for a Smoother Setup
- Pin the extension immediately after installing — Chrome hides new extensions by default, which is the most common reason people think “installation didn’t work.”
- If the extension doesn’t appear on YouTube after installing, refresh the YouTube tab or restart your browser.
- Only install these tools from the official Chrome Web Store listing — avoid third-party download sites for browser extensions that request access to your Google account.
- You can run VidIQ and TubeBuddy side by side without conflicts if you want to compare their suggestions directly.
FAQs — Frequently Asked Questions
Q1. How do I install VidIQ on Chrome?
Go to the Chrome Web Store, search “VidIQ Vision for YouTube,” click Add to Chrome, then sign in and authorize it to access your YouTube channel.
Q2. How do I install TubeBuddy on Chrome?
Same process — search “TubeBuddy for YouTube” in the Chrome Web Store, install it, then authorize it with your YouTube channel when prompted.
Q3. Does VidIQ/TubeBuddy installation work the same way on Microsoft Edge?
Yes, since Edge is Chromium-based, you can install both extensions from the Chrome Web Store the same way — TubeBuddy has officially become Chrome-first (no longer supports Firefox), so Chrome or Edge are your best options.
Q4. Can I use both VidIQ and TubeBuddy at the same time?
Yes, many creators run both simultaneously since they overlay complementary data (VidIQ leans more AI/SEO-score driven, TubeBuddy leans more into tag research and A/B testing) — installing one doesn’t disable the other.
Q5. Is VidIQ or TubeBuddy free to install and use?
Both offer a free tier with real installation and core features at no cost; advanced features (A/B testing, deeper competitor analytics) are gated behind paid plans on both tools.
Q6. Why isn’t the extension showing up after I install it?
Click the puzzle-piece icon in your browser toolbar and pin the extension — Chrome hides newly installed extensions by default until you pin them for one-click access.
Q7. Do I need to give VidIQ or TubeBuddy access to my YouTube channel?
Yes, both tools ask you to authorize access to your channel so they can show personalized data like your video’s SEO score and channel-specific suggestions — this is a standard, expected step in the setup, not an extra permission to be cautious about.
Q8. Can I install VidIQ and TubeBuddy on my phone, not just PC?
Both offer mobile apps separately from the browser extension covered in this guide, though the real-time YouTube overlay experience is generally richer on desktop Chrome/Edge.
Final Thoughts — A Two-Minute Setup That Pays Off Long-Term
Whether you pick VidIQ, TubeBuddy, or run both, the installation itself takes barely two minutes and immediately gives you real-time data most creators are flying blind without. Start with the free tier of either tool, get comfortable with the overlay data on your own videos, and upgrade only if you find yourself actually using the advanced features.
If you found this guide helpful, subscribe to the TapsVision YouTube channel and hit the bell icon — we post practical creator growth and tech guides regularly, in both Hindi and Hinglish, just for you!
Subscribe TapsVision on YouTube for daily Hindi tech tips — YouTube growth, Android, Windows, and more!
Have a question? Comment below or message us on the YouTube video. Everyone is welcome in the TapsVision community!
— TapsVision